
Quick and Dirty: How to Install Parse Framework to your Xcode Project
 With more complex objective-c projects, you may find yourself wanting to install many 3rd party libraries. This could be time consuming, difficult and a lot of work. Here is a default way to install the necessary programming language and packages.
The goal is to use CocoaPods to manage your dependencies. But in order to install CocoaPods, you first need to install ruby and ruby gems. So there is a bit of setup. However, this will save a lot of time and lessen any errors for future mobile app development.
Step 1: Install Homebrew
Many people on Mac OS X use Homebrew as a package manager.
Paste the following script in Terminal:
ruby -e "$(curl -fsSL https://raw.github.com/mxcl/homebrew/go/install)"
The script explains what it will do and then pause before it does it.
Step 2: Install Ruby
After Homebrew is installed, you can now install the latest version of Ruby. Type the following in Terminal:
brew install ruby
Step 3: Install Ruby Gems
To install the latest version of Ruby Gems, type the following in Terminal:
sudo gem update --system
Step 4: Install CocoaPods
To install the latest version of CocoaPods, type the following in Terminal:
sudo gem install cocoapods
Now you are ready to install the Parse SDK!
In Xcode, create a project. Go ahead and close the Xcode project. Now we need to add the Parse framework. Return to Terminal and navigate to the directory where your new Xcode project was created in.
Create a podfile by typing the following in Terminal:
touch Podfile
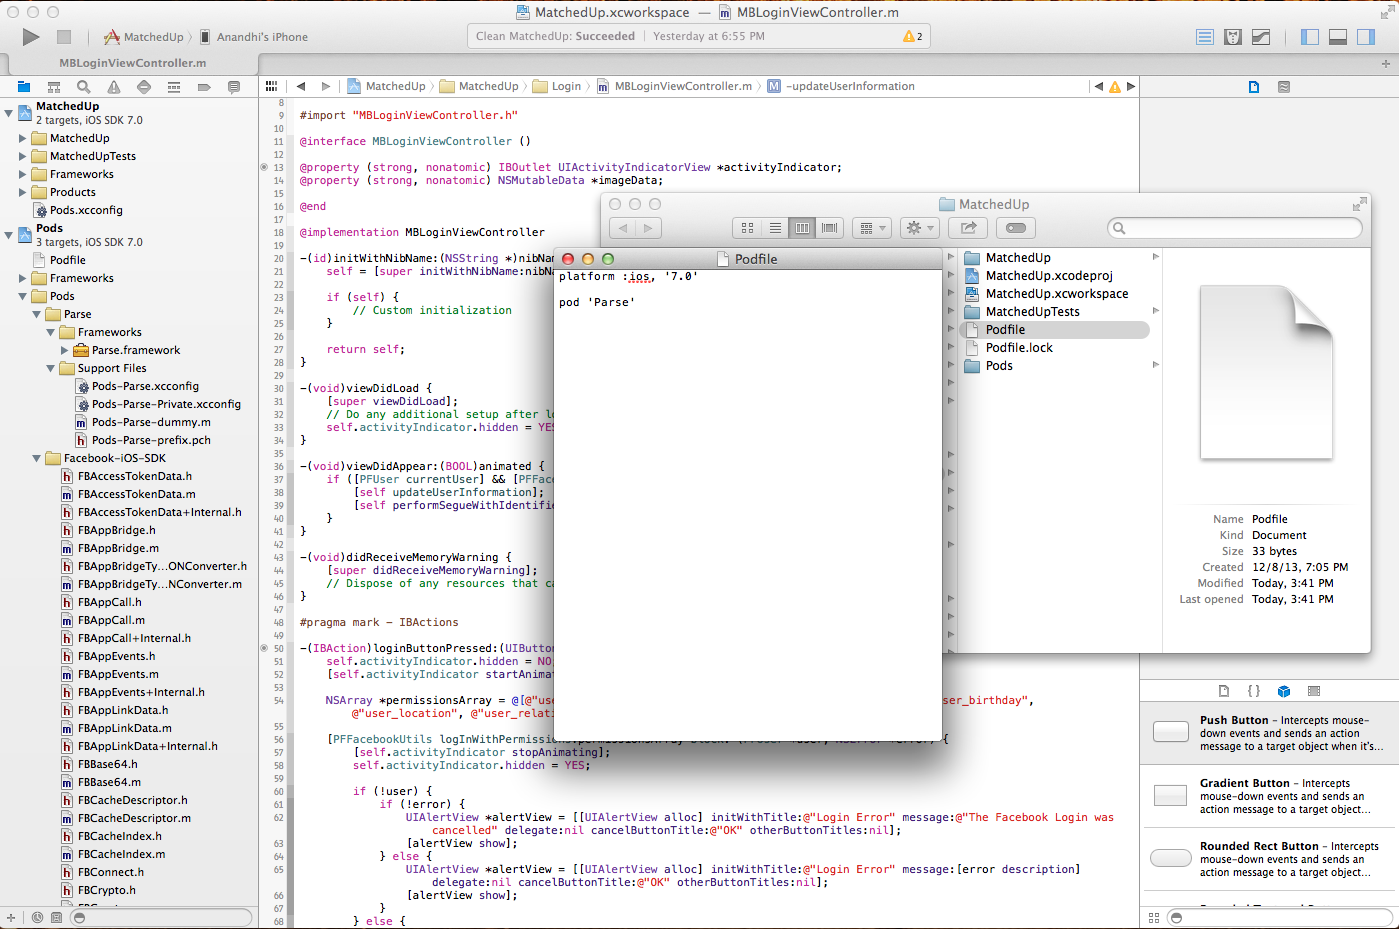
Open the podfile and add the following lines:
platform :ios, '7.0'
pod 'Parse'
Save and close the podfile.
To Install the Parse SDK, type the following in Terminal:
pod install
Moving forward, open the xcworkspace file instead of the xcodeproj file.
TA DA! You can now see both the Parse and the Facebook framework in your Xcode project.